 |
| I hammered out the brackets. |


It was in really good shape except for one of the brackets was broken.


And I wanted something similar for this blank wall in my master.


 |
| Broke my sander (curses) I hate that thing! Still useable uggh! |

 |
| One coat |
 |
| Two coats! |
 |
| Ahh...Break from painting into nature! |
 |
| Knock Out Roses. These are sooo easy to grow. |

K back to building...my husb came home from work and I wanted to use the "big" tools but he wouldn't let me - thought I'd cut off a limb or something. So I let allowed him to cut this for me. (dang him and his cutting off limb rules!)

 |
| I was allowed to use the scroll saw...it doesn't cut so fast! |
 |
| Here are my 4 brackets. |
 |
| I drew a "design" if you want to call it that. |

 |
| Cut the design and sanded down the edges. |
 |
| Drilled some pilot holes into the shelf and back brace. |
 |
| Screwed it all together. |
 |
| Used the nail gun to nail brackets! |
 |
| Wood filled and caulked all the holes and seams. |
 |
| Painted w/ same creamy white as bedroom. |
 |
| Yeay! in my bedroom! |
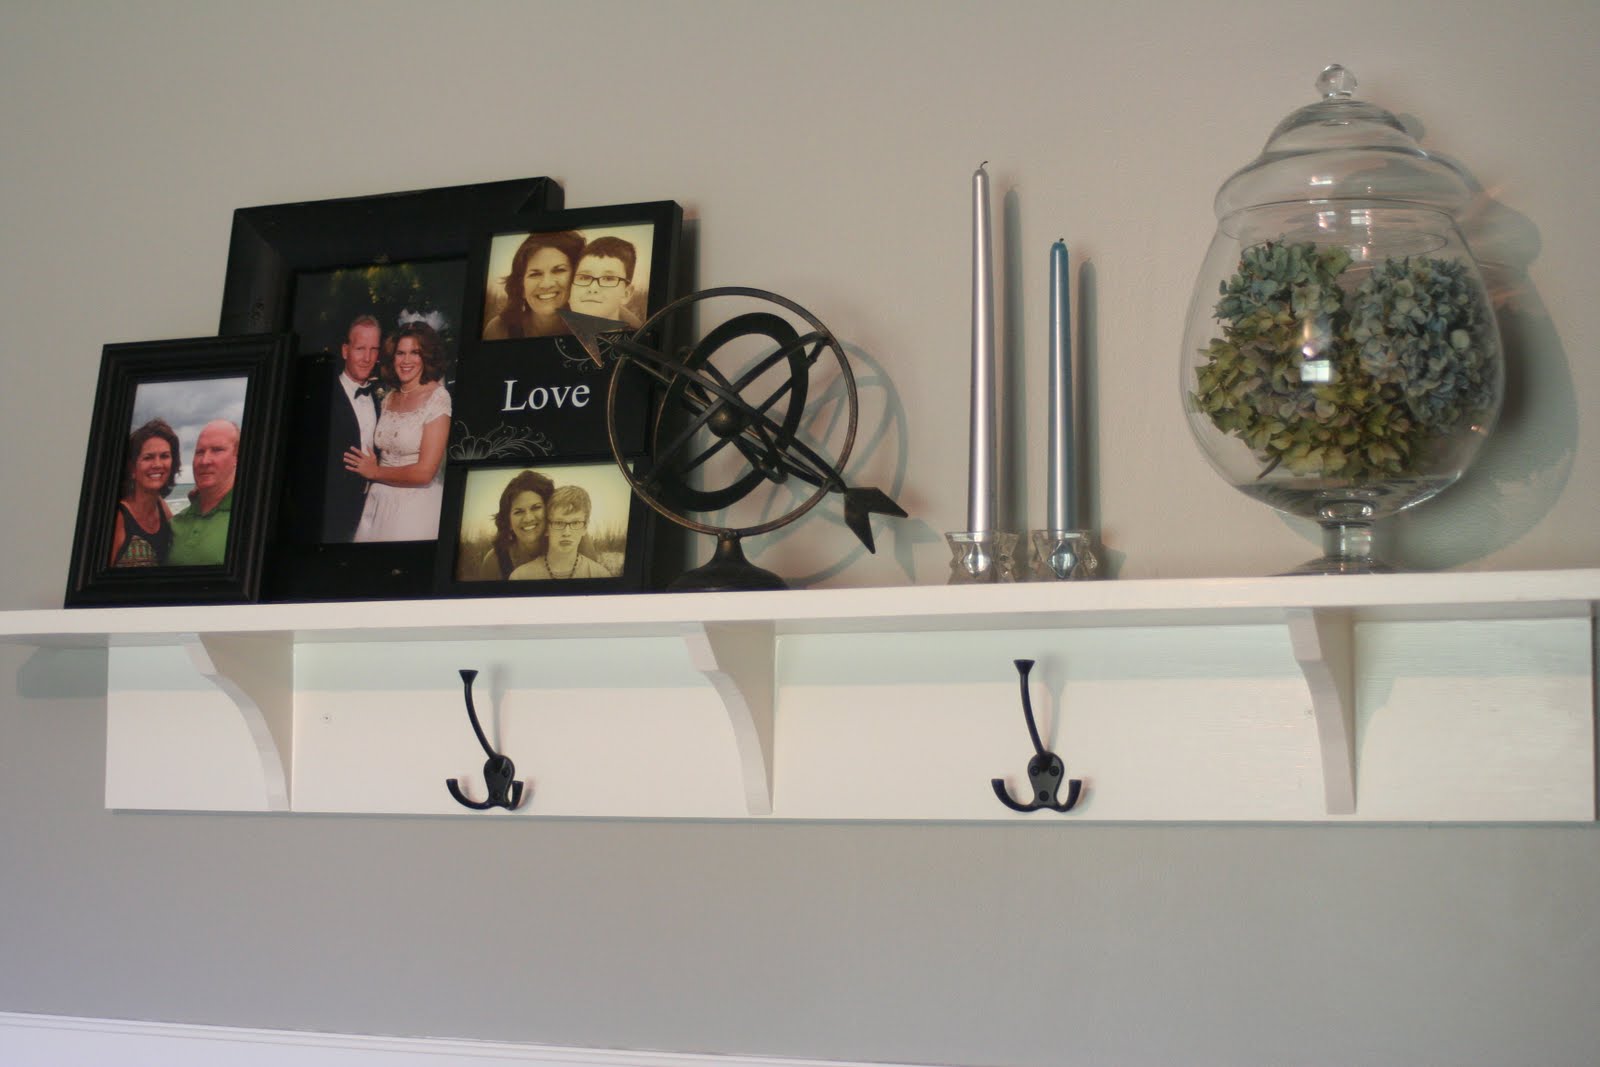 |
| Added the black hooks from Home Depot. |
 |
| Looks pretty close don't you think? My boys would not ever read any chalk board messages to them, so I opted out of that! LOL. |
 |
| Love her organization! |
OH...since I was given permission to use the nail gun, I decided to nail in the broken shelf of our dresser.
 |
| After |
 |
| Before |

Wow! This is fabulous! What a great tutorial for a great project! I love that the shelf has meaning to you. The photos are wonderful and the shelf is beautiful. Thanks for giving me a shout out and for sharing your project!
ReplyDeleteSarah
Paige, I found you via Yellow Cape Cod and am I glad I did! You're handy, girl! I'm envious of that. Can't wait to see what else you do. I'm your newest follower (#12).
ReplyDeleteBeautiful shelf! Like the repaired dresser too! Thank you for linking to Handy Man, Crafty Woman's Wicked Awesome Wednesday!
ReplyDelete